The Basics of Celestial Navigation, Part 2: Turning Sunshine into Math
Turning sunshine into numbers: working a Sun sight, step by step, with the almanac and a worksheet.

- Introduction: why we want a backup to GPS
- Part 1: The math that makes the world go round
- Part 2: Turning sunshine into math (working a Sun sight) (you are here)
- Part 3: Connecting the dots (plotting a running fix)
- Part 4: High noon, low math (latitude by noon sight)
- Part 5: Finding the second star on the right (identifying stars and planets)
- Part 6: The Sun clocked out, but the math didn’t (working star and planet sights)
- Part 7: Three lines walk into a bar (plotting a three-body fix)
In Part 1, we looked at why measuring the Sun's altitude can tell us something about our position. Now we can put that geometry to work. We will take the information from a Sun sight, look up a bit of information in two books, and use a worksheet to keep track of the numbers.
The process is called a sight reduction. We correct the altitude (i.e., the angle of the Sun) we measured, calculate the altitude we would expect from a nearby assumed position, and compare the two. The result gives us what we need to plot a line of position. We will do the actual plotting in Part 3.
There is quite a bit of terminology here, but most of the work is looking up a number, writing it in the right place, and applying a correction. The worksheet helps keep everything organized throughout the process.
Taking and recording a Sun sight
We need a sextant, an accurate UTC time reference, a clear sea horizon, and a way to record the observation. We also need to know our height of eye above the water and the sextant's index correction. For the reduction, we will use the Nautical Almanac and Pub. 249 sight-reduction tables.
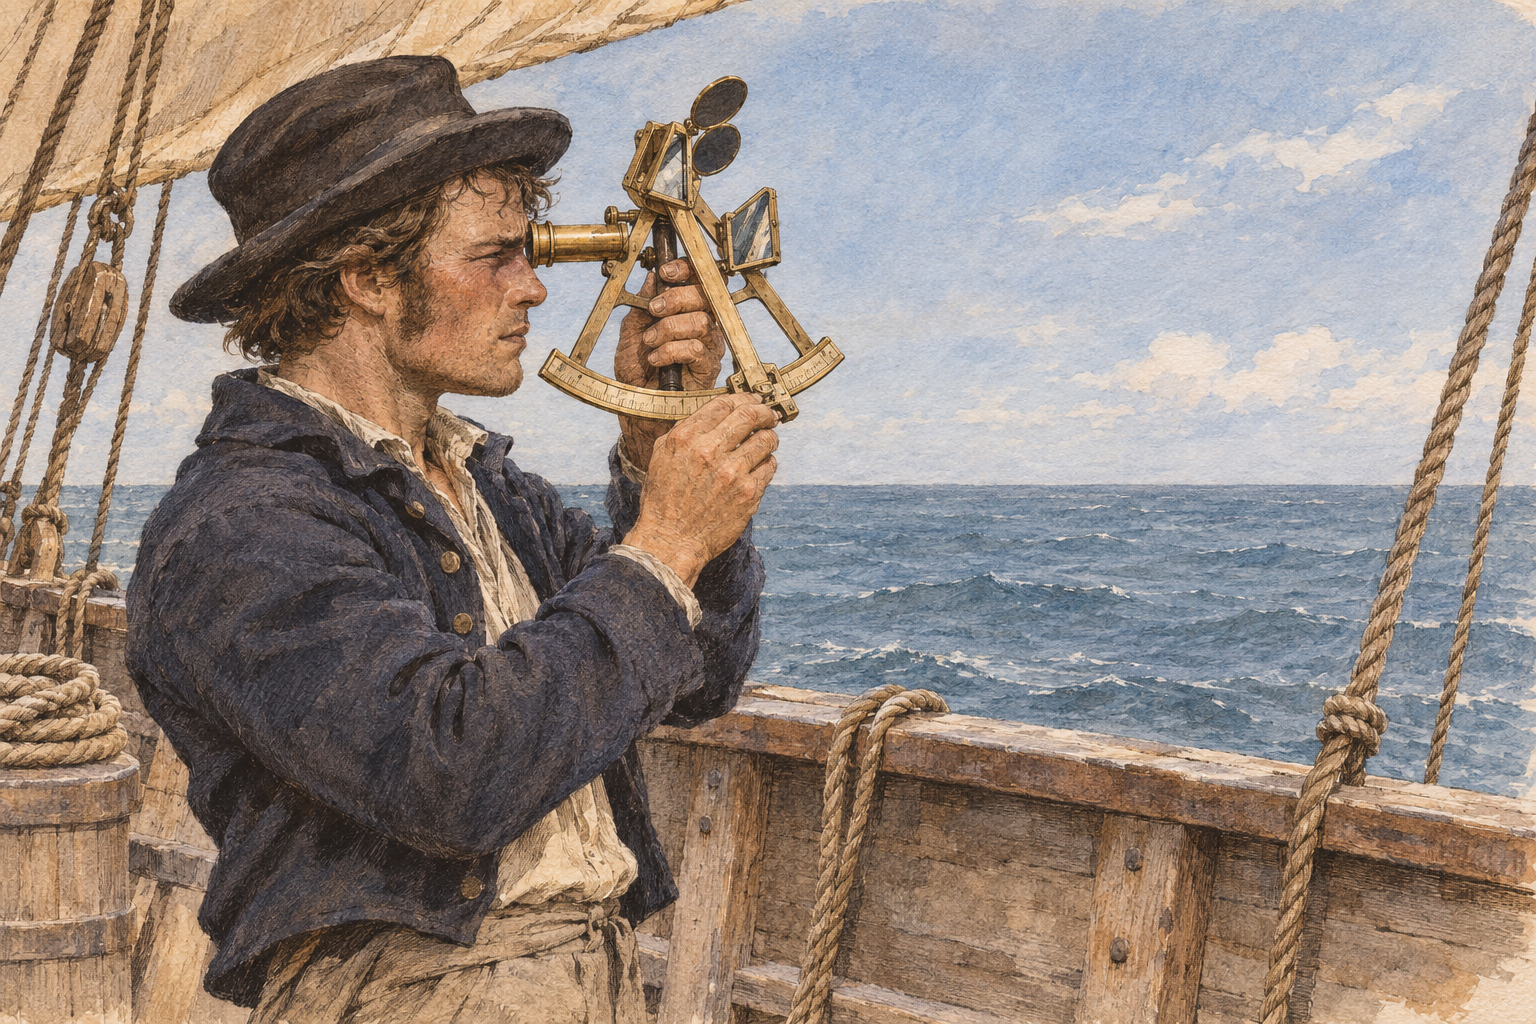
For a lower-limb Sun sight, bring the reflected image of the Sun down until its bottom edge touches the horizon. Gently rock the sextant to find the lowest point of the Sun's arc, which helps establish the vertical angle. At the instant of contact, record the time and the sextant reading. It helps to have someone else record the time while you concentrate on the sight. When I first started taking sights, I was surprised by how quickly the sun was moving, so it’s important to get the timing of your sextant reading right.
Record the UTC date and time to the second, which body and limb you observed, the sextant altitude Hs, index correction, height of eye, and your dead-reckoning position. Account for watch error before using the time in the almanac. A carefully recorded observation is much easier to work with than one reconstructed from memory later.
The worksheet
One complete blank worksheet follows. Filled sections appear alongside the steps below. Red boxes in the source excerpts identify the printed entries we use. When two rows bracket an input, both are marked; the interpolated result is calculated in the text, not printed in the table. The numbered sections let us keep track of where each value belongs. We will work in the order that saves us turning back and forth through the books, rather than completing every section in numerical order.

The colors are a guide to the workflow: Blue is mainly for numbers looked up or recorded, including Hs and index correction. Yellow is for calculated results and final plotting values. Green is for inputs we choose or transfer for the tables, such as assumed latitude and the copied declination degrees and minutes. Some fields simply copy an earlier value, so follow the instruction in each box rather than relying on color alone.
Our practice sight near St Thomas
We will use a simulated lower-limb Sun sight on 10 January 2026, with a starting dead reckoning position DR of 18°15.0′ N, 64°55.0′ W. This is the presumed position we calculated based on our heading, speed, and time since our last known position.
Our sight time is 09:52:00 AST, which is 13:52:00 UTC because Atlantic Standard Time is UTC-4. Assume a correct watch, index correction 0.0′, and height of eye 9 ft, or 2.7 m. The simulated reading is Hs 34°32.6′.

Copy Hs into 3.a and index correction into 3.b. Our watch error is zero, so no additional time correction is needed after converting AST to UTC.
If you are starting with an index error rather than a signed correction, the usual reminder is “off the arc, add; on the arc, subtract.” Once you have a signed correction, apply that sign.
Start with the daily almanac page

Open the daily page for 10 January 2026 and use the 13h UTC Sun row. We need the Sun's GHA and declination at the whole hour first. We will account for the remaining 52 minutes next.
Reading the Sun column

In 1.a, enter the hourly GHA, 13°07.1′. In 2.a, enter declination, 21°54.3′ S. Keep the S with the number. It will matter when we choose the table and apply the change in declination.
This almanac is European, and since they are weird it uses decimal commas, so 07,1 means 07.1. Its vt and vd labels describe two hourly rates. The vt value is the small adjustment to the nominal 15° per hour advance of the Sun's GHA used by this edition's increment table. The vd value is the hourly change in declination, with northward change positive.
The daily page gives vd +0.4′ per hour, a northward change. Our declination is south, so its south magnitude is getting smaller. In 2.b, enter −0.4′ per hour to express that decrease on this worksheet.
Account for the minutes after the hour

Open the 52-minute panel in Increments & Corrections. At 00 seconds, the Sun/planets increment is 13°00.0′. Enter that positive increment in 1.b.
The correction box below that panel supplies the adjustments for the hourly rates. It gives a magnitude of 0.3′ for the 0.4′ declination rate over this interval. The table gives the magnitude; we still must apply the appropriate sign.

For declination, use the 0.4′ rate from 2.b in the 52-minute correction box. The table gives 0.3′, so in this instance it is the same. Our south declination is decreasing, so enter −0.3′ in 2.c.
Finish the Sun coordinates

We now have everything needed to finish sections 1 and 2, apart from the assumed longitude and LHA.
For GHA, add the signed entries:
1.d = 13°07.1′ + 13°00.0′ − 0°00.3′ = 26°06.8′.
For declination, reduce the south magnitude:
2.d = 21°54.3′ S − 0.3′ = 21°54.0′ S.
Split the declination into 21° in 2.e and 54.0′ in 2.f. Pub. 249 uses the whole degrees for its first lookup and the minutes for a later adjustment. We are keeping both, just using them at different stages.
Choose a nearby assumed position
Our DR is 18°15.0′ N, 64°55.0′ W. Pub. 249 is arranged around whole-degree latitude and Local Hour Angle, or LHA, so we choose a nearby assumed position that gives us those inputs.
Use 18° N for assumed latitude. For west longitude, LHA = GHA − assumed longitude. Choosing 65°06.8′ W makes the minutes cancel:
26°06.8′ − 65°06.8′ = −39°. Add 360° to obtain LHA 321°.
That AP is a convenient calculation reference, not a claim that we are at exactly 18° N, 65°06.8′ W.
Enter the assumed position and LHA

Put 65°06.8′ W in 1.e and 321° in 1.f. The west longitude is subtracted, as shown in the filled form. Keep the final LHA between 0° and 360°.
For east longitude, the rule is different: LHA = GHA + assumed longitude. Its minutes normally complement the GHA minutes to 60′, rather than matching them. The general rule is to choose a nearby AP that produces a whole-degree LHA; “match the minutes” is only the west-longitude shortcut.
Record 18° N in 4.a. Our assumed latitude is north and the Sun's declination is south, so enter CONTRARY in 4.b. If both had the same name, north or south, we would use SAME instead.

We can now enter Pub. 249 using latitude 18°, declination 21° CONTRARY, and LHA 321°.
Calculate the altitude expected at the AP

Use Pub. 249, Volume 2, printed page 113 (PDF page 131). On this latitude 18° CONTRARY page, find the intersection of the 21° declination column and LHA 321° row.
Enter Hc 35°24′ in 4.c. Hc means computed altitude: the altitude calculated for the AP. In 4.d, record d −41′ and Z 134° from the same entry.

This d is not the daily almanac's declination rate. Here it tells us how the computed altitude changes with declination. We used 21° to enter the table, but our Sun declination is 21°54.0′. We still need to account for those 54 minutes.
Apply the declination minutes

Open Table 5 in Pub. 249. Use the magnitude of d, 41′, and the 54′ declination minutes from 2.f. Their intersection gives 37′. Because our d is negative, enter −37′ in 4.e.
The corrected computed altitude is therefore:
4.f = 35°24′ − 37′ = 34°47′.
If subtracting minutes across a degree boundary is unfamiliar, rewrite 35°24′ as 34°84′ first. Then 84′ minus 37′ leaves 47′. A degree contains 60 minutes, so the arithmetic works like borrowing an hour when subtracting clock times.
We now know the Sun's computed altitude at our AP. Pub. 249 rounds this correction to whole minutes; retaining extra decimal places here would imply precision the table has not supplied.
Next we return to the angle measured by the sextant. We need to correct that reading before comparing it with Hc.
Correct the sextant reading

Section 3 takes Hs, the raw sextant reading, to Ho, the corrected observed altitude. For this lower-limb Sun sight, Ho represents the Sun's center relative to a true horizontal reference, with the observing effects accounted for.
We already entered Hs 34°32.6′ in 3.a and 0.0′ in 3.b. Now use the dip table for our 9 ft height of eye, equivalent to 2.7 m. That lies between the printed entries for 2.68 m and 2.87 m, which gives us −2.9′ in 3.c.

Subtract the dip magnitude once:
3.d: Ha = 34°32.6′ + 0.0′ − 2.9′ = 34°29.7′.
Ha is the apparent altitude after index and dip corrections.
Finish the Sun altitude correction


For 3.e, stay on the same page of the almanac, headed Corrections to apply to the observed altitude of the Sun. We need its refraction table and January lower-limb semidiameter entry. Use Ha 34°29.7′, not the original Hs, for the refraction lookup.
Ha lies between 34°13′, with refraction −1.3′, and 36°15′, with −1.2′. Interpolation gives about −1.286′, which rounds to −1.3′ at the worksheet's precision.
We observed the Sun's lower edge. The January lower-limb entry is +16.3′, which brings that edge up to the Sun's center. Combine the two signed terms:
3.e = −1.3′ + 16.3′ = +15.0′.
Then apply that correction to Ha:
3.f: Ho = 34°29.7′ + 15.0′ = 34°44.7′.
We now have Ho 34°44.7′ in 3.f and Hc 34°47.0′ in 4.f. The first comes from correcting our simulated observation; the second comes from calculating the altitude at the AP.
Compare the two altitudes
Section 5 gathers the information we will take to the plotting sheet. Start with the intercept, the difference between observed and computed altitude:
5.a: Ho − Hc = 34°44.7′ − 34°47.0′ = −2.3′.
Each minute of altitude difference corresponds to one nautical mile of intercept. Our observed altitude is lower than the altitude computed at the AP, so the line of position lies farther from the Sun's GP. Record 2.3 nautical miles AWAY.

If Ho had been greater than Hc, the intercept would be Toward. The usual reminder is “computed greater, away.” Keep the magnitude and the direction together so the minus sign does not get lost when we move to the chart.
In 5.b, convert the tabulated azimuth angle Z to true azimuth Zn using the rules printed below section 4. Our latitude is north and LHA is greater than 180°, so Zn = Z = 134° true.
Copy the AP coordinates into 5.c and 5.d. Our final set is:
- Assumed position: 18° N, 65°06.8′ W.
- True azimuth Zn: 134°.
- Intercept: 2.3 nautical miles Away.
And that’s it. No voodoo, no advanced calculus needed. Just basic math and recording the right numbers in the right places. We now have the information needed for one line of position, not a latitude-and-longitude fix. In Part 3, we will put these values onto the plotting sheet, and combine this sight with a later one while accounting for the boat's movement to figure out exactly (-ish) where we are.
Next in the series: Part 3: Connecting the dots (plotting a running fix)